How to Change an Existing Window
Overview
Application elements (windows, tabs and fields) are liable to change repeatedly during the development or maintenance phases of a project. Etendo is able to cope with these changes because its architecture is suited to iterative development. The definitions of all generated Windows, tabs and fields are stored as metadata in the Application Dictionary (AD).
Changing the window of an existing application is a simple process of changing the AD definition.
When using the Etendo UI, the changes can be seem immediately when switching role and then by opening the changed window again.
When using classic Window a compile step is needed.
This How-To explains how to modify existing elements of a window. If only new elements (like new fields) should be added to a window the use of a Template is not needed. Instead, those new elements can just be added using a normal module as explained in the other How-To on How to add a field to a window Tab.
Objective
The objective of this how-to is to illustrate how to make changes to existing generated windows in terms of appearance and behavior. The window used in the example is the Physical Inventory window and the changes illustrated will be:
- Hide a field
- Re-sequence the layout
Physical Inventory is a window that belongs to Etendo Classic. It comprises of:
- 1 Window - Physical Inventory.
- 2 Tabs - Header and Lines.
- A Header Tab has 19 Fields 10 of which are displayed (A few are displayed conditionally).
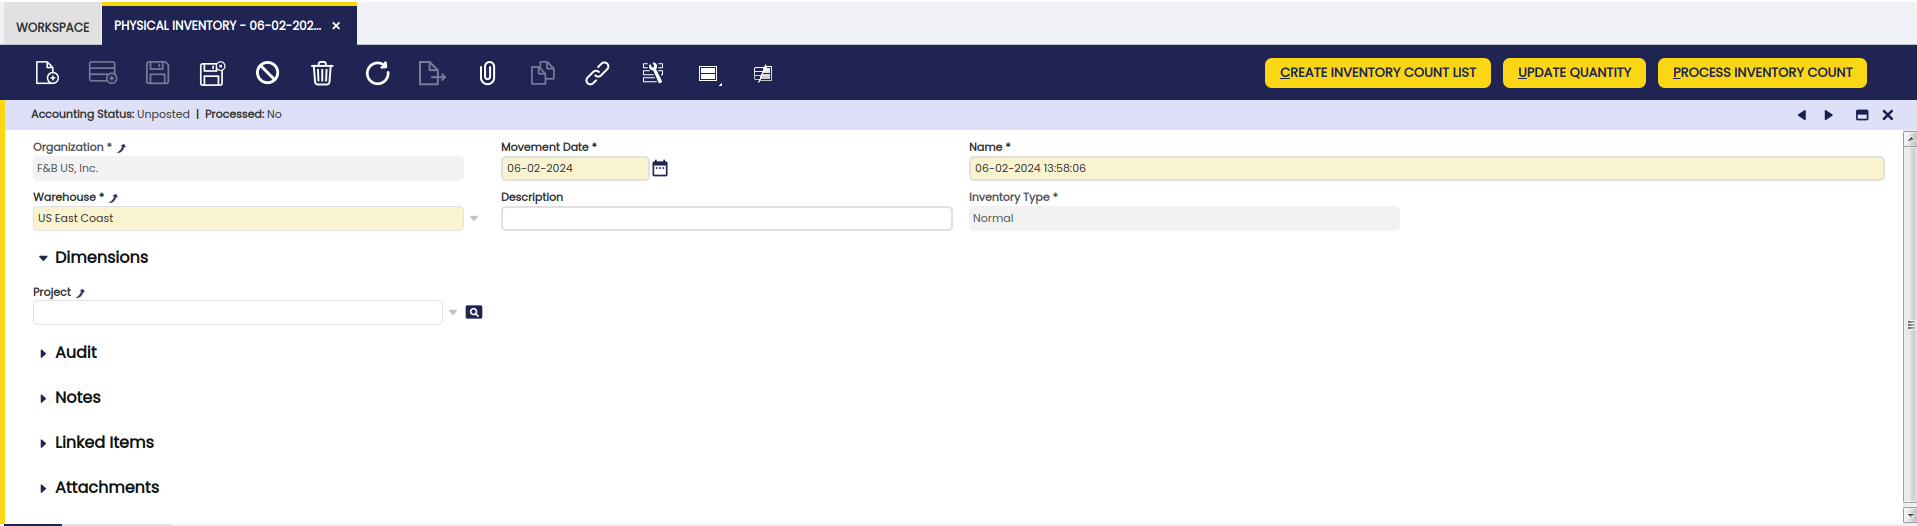
Before any changes the header tab has the following appearance:
Info
To customize these window in a Modularity Context a new module of Type Template is needed.
Changing the window
Navigate to the Application Dictionary > Windows, Tabs and Fields window and select the record for Physical Inventory .
In the Fields tab we can now make the changes needed to adapt the layout as wanted:
- Description field, unmark the Displayed checkbox to hide the field from the tab.
- Organization field, change sequence number to 200 and mark the Start in new line checkbox. This moves the field below all other normally displayed.
For testing the changed layout, switch away from the System Administrator role to e.g. the F &B International Group Admin role and open the Physical Inventory window again. As the instance contains our module marked as InDevelopment the window layout is reloaded each time the window is opened, so we can see the changed layout immediate as seen below:

To apply the same layout changes to the window in classic UI mode, the windows need to be recompiled, the changes deployed to tomcat and tomcat restarted. The compile & deploy step can be done by using ./gradlew smartbuild which will recompile all changed windows and deploy the changes.
Exporting the changes
The final step is to export the changes into the module so they are persisted.
Note
When exporting changes into a template, it is important that only the template is in development and the module which contains the changed object (i.e. window) is not.
After ensuring that, the export of the changes consists of the following two steps:
2. _./gradlew export.config.script_ , analyses the changes done and creates a special file _configScript.xml_ in the module to contain them.
This work is a derivative of How to change an existing window by Openbravo Wiki, used under CC BY-SA 2.5 ES. This work is licensed under CC BY-SA 2.5 by Etendo.