Install Etendo Development Environment
Overview
This section explains how to install and run a new local Etendo environment.
Install Etendo in local Environment
To install Etendo in a development environment, follow the same steps as described in the Etendo Installation Guide, the only difference is that we open the project with intelliJ and run Tomcat locally.
Run Etendo Development Environment
-
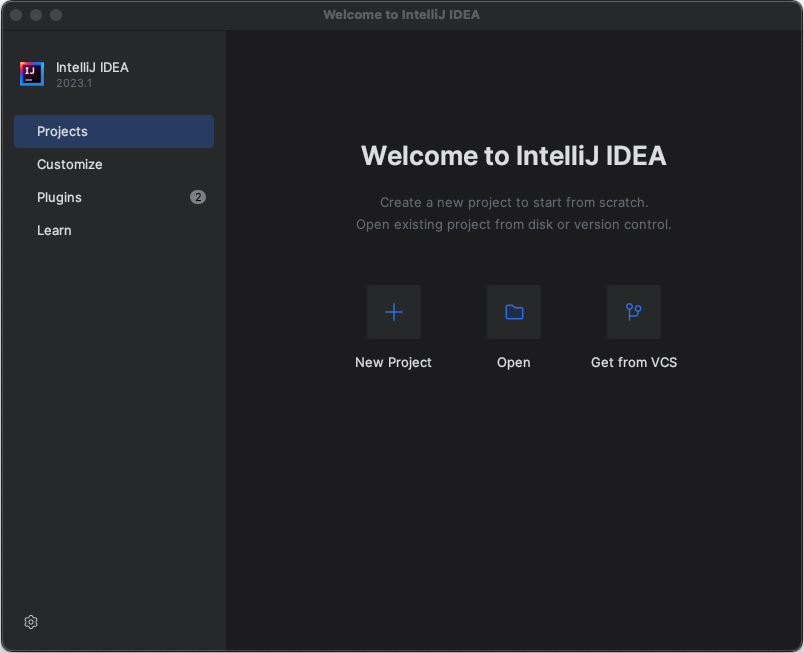
Download and install IntelliJ IDEA Community Edition
-
Open Etendo source directory with IntelliJ:
-
Install Smart Tomcat plugin: To install, go to
Settings>>Pluginsand search for“Smart Tomcat”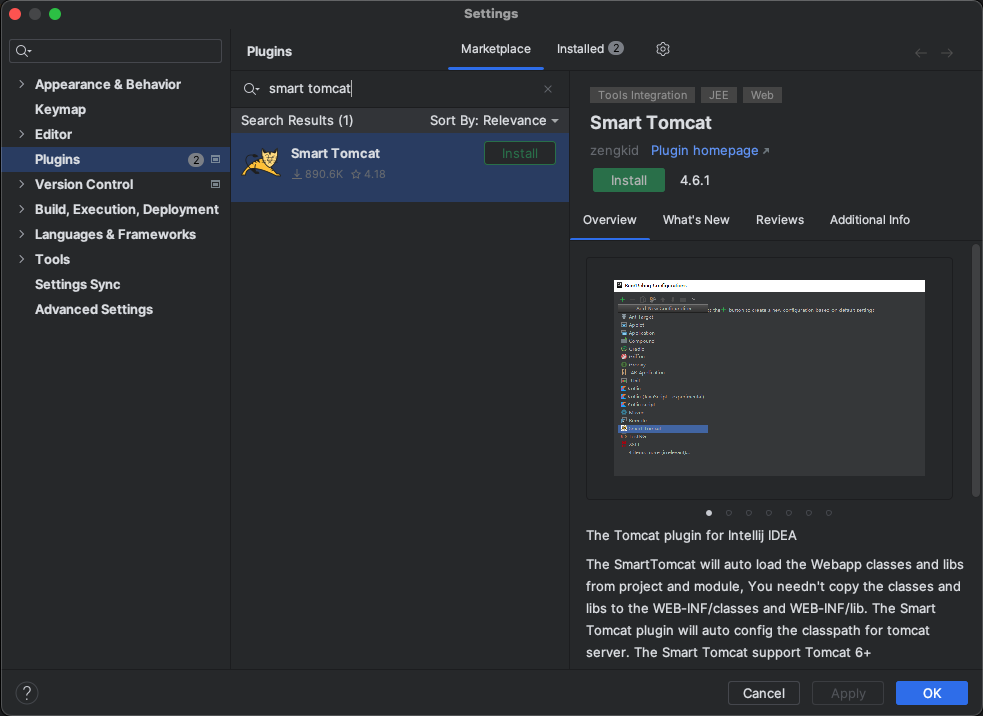
-
Download Apache Tomcat and unzip it in the project directory
-
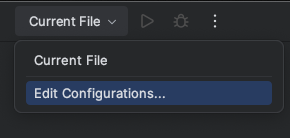
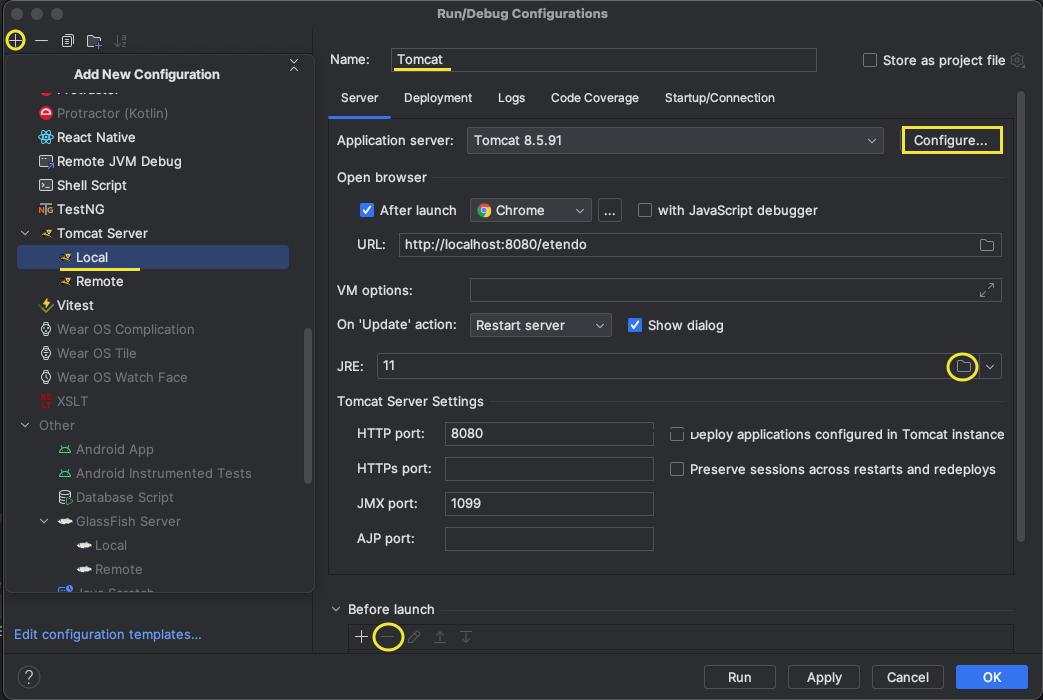
Setting up Tomcat
- Go to Current File >> Edit configurations.
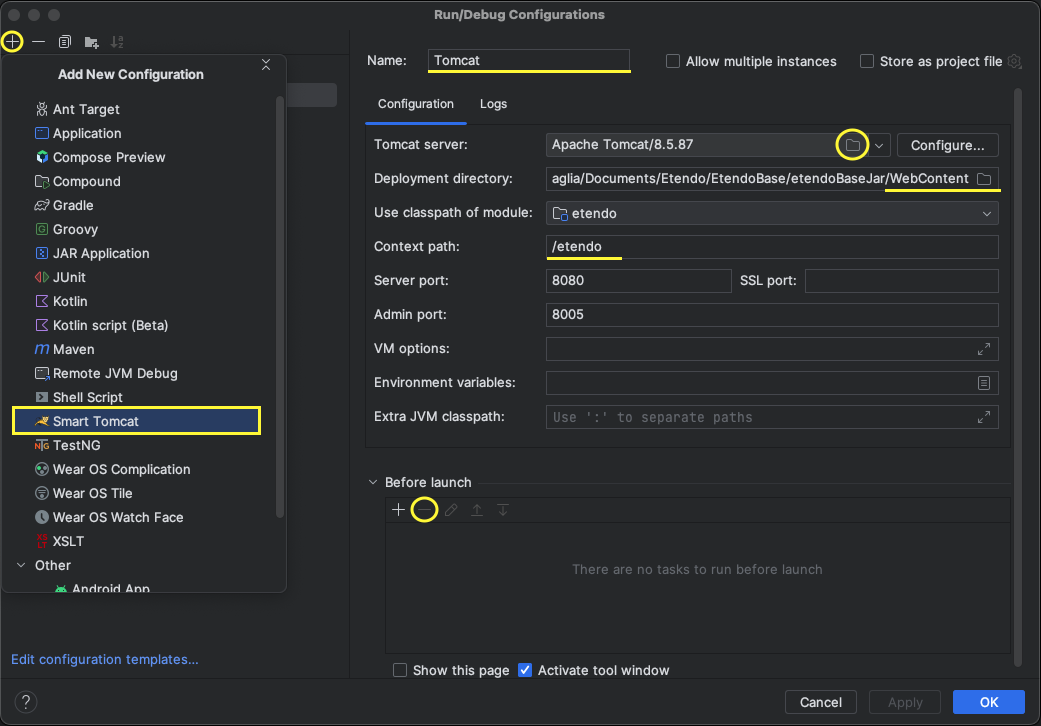
- Add new Smart Tomcat Configuration, clicking "+"
- Name: Tomcat
- Tomcat Server: Select unziped Apache Tomcat directory
- Deployment directory: Select
WebContentdirectory in the project - Context path: define the same context path defined in gradle.properties file (by default "/etendo" )
- Before launch: Remove all default tasks
- Go to Current File >> Edit configurations.
-
Start the Tomcat

Success
Now you have a new Etendo environment running in http://localhost:8080/etendo
Default credentials
User: admin
Password: admin
-
Download and install IntelliJ IDEA Ultimate
-
Open Etendo source directory with IntelliJ:
-
Seting up Tomcat
-
Go to Current File >> Edit configurations.
-
Select the Tomcat configuration that appears first in the list, check the Tomcat server configuration on your machine.
-
In the Deployment section, add external sources
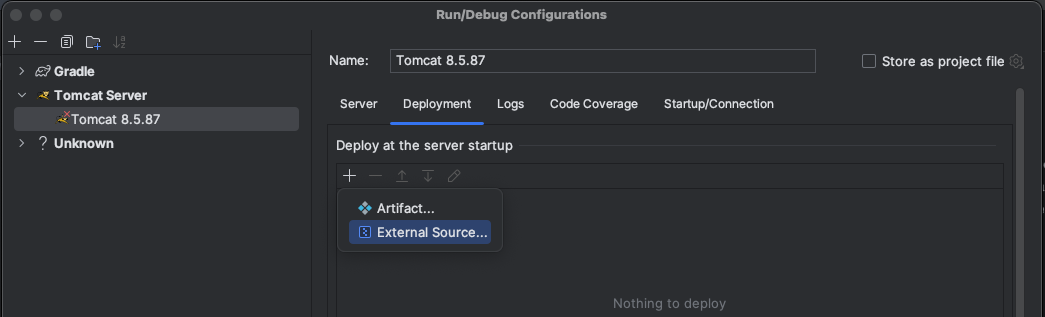
-
Selec the C
${env.CATALINA_HOME}/webapps/etendofolder or the and then click the OK button.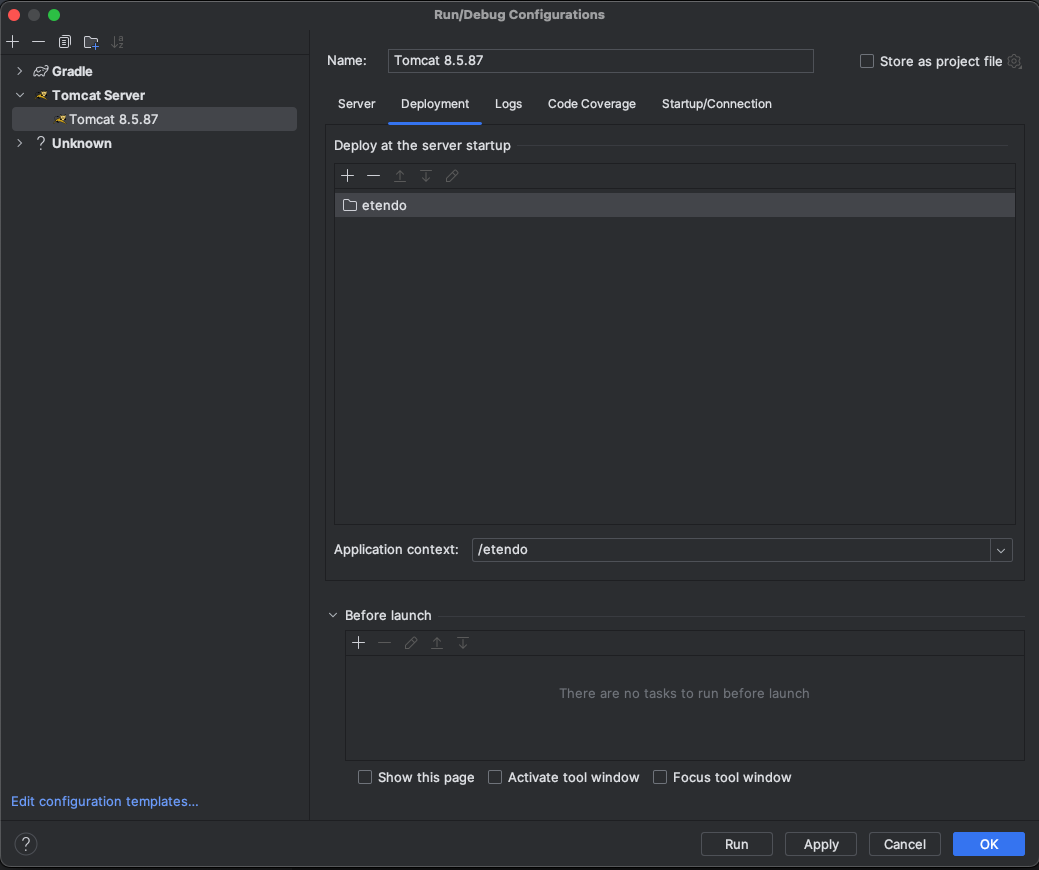
-
-
Start the Tomcat
Success
Now you have a new Etendo environment running in http://localhost:8080/etendo
Default credentials
User: admin
Password: admin
Enable Etendo Logs (Optional)
-
Open the file
2. Run smartbuild taskconfig/log4j2-web.xml, find the line<!-- <AppenderRef ref="Console"/> -->and uncomment it: