How To Modularize The Location Selector
IMPORTANT: THIS IS A BETA VERSION
This page is under active development and may contain unstable or incomplete features. Use it at your own risk.
Overview
In this section, it is explained how to modify and modularize the Location Selector .
Recommended Articles
Before reading this guide, it is necessary to have a proper understanding of Etendo's Modularity concept and how to create a module, as we take the knowledge from these articles as a given in this guide.
In case you are working with configuration scripts or templates on a regular basis, the following link to an article might be of interest to you, since it describes how to create a configuration script.
Execution Steps
The steps needed to change and modularize the Location Selector are as follows:
-
Define your own Module and export it. The module folder will be then be generated, for example:
-
Create the source folder for the Module we just created previously. For our example, it should look like this:
-
Copy the original files of the Location Selector into the newly created folder. When copying the files, maintain the original file names. The original files are located at:
-
Modify the following files to make them part of your package:
- Location_Search_data.xsql: Change the defined package to:
com.etendoerp.locationexample.info -
Change the package to:
com.etendoerp.locationexample.infoChange the following mappings to use the new mappings:
`
org/openbravo/erpCommon/info/Location_FS ->  com/etendoerp/locationexample/info/Location_FS
org/openbravo/erpCommon/info/Location_F1 ->  com/etendoerp/locationexample/info/Location_F1
org/openbravo/erpCommon/info/Location_F2 ->  com/etendoerp/locationexample/info/Location_F2
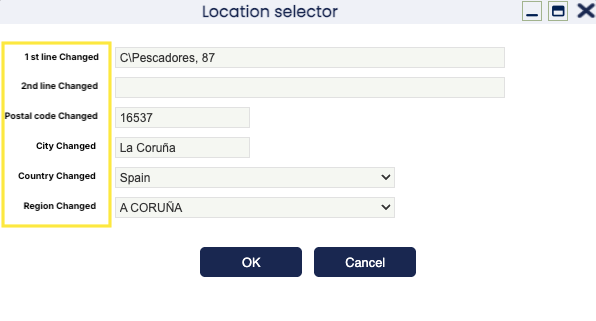
After that you can apply all the changes you want to do. In our example, we have just changed the labels for the fields.
Note
There is a trigger
c_bpartner_location_trgthat inserts the location name into the name field of thec_bpartner_locationname after any changes. That name is created using the functionc_location_name.If you add new fields in the Location Selector and also want to use the information to compose the name, you will need to do the following:
- Create your own function based on
c_location_nameto compose the name that you want to save. - Create your own trigger based on
c_bpartner_location_trgto use that new function to save the name. - Deactivate the
c_bpartner_location_trgtrigger and use your own one instead.
To deactivate it, you have to delete it and then export the changes into a Template set
In Development. At the top of theconfigScript.xmltemplate you will see that there is a line that indicates that the trigger was removed (RemoveTriggerChange). - Location_Search_data.xsql: Change the defined package to:
-
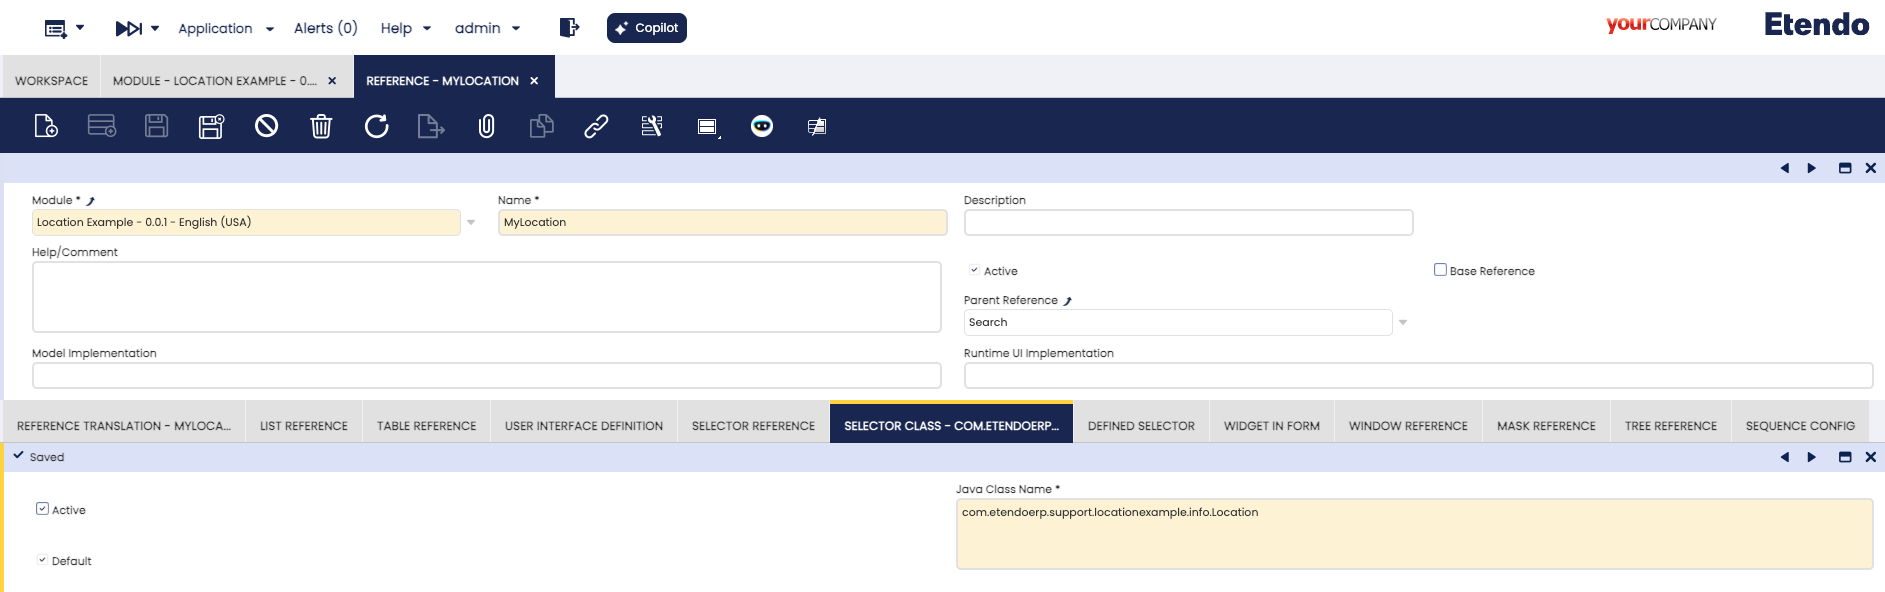
Create a new search reference for the new files for your module and your own name. Define that new reference to use your own Java Class and your own mappings:

-
Define a new template module and mark it as
In Development. You can use the template we used to deactivate the Trigger: In the Tables and Columns window, find the column which you want to use with the Locator Selector we have created and change the Reference Searchkey combo to use this new reference. In the example we have done it in theC_Bpartner_locationtable, in thec_location_Idcolumn. -
Compile the application with:
-
Restart tomcat and use the column to check that the new reference is working with the new changes.
The results of our changes are:
This work is a derivative of How To Modularize The Location Selector by Openbravo Wiki, used under CC BY-SA 2.5 ES. This work is licensed under CC BY-SA 2.5 by Etendo.